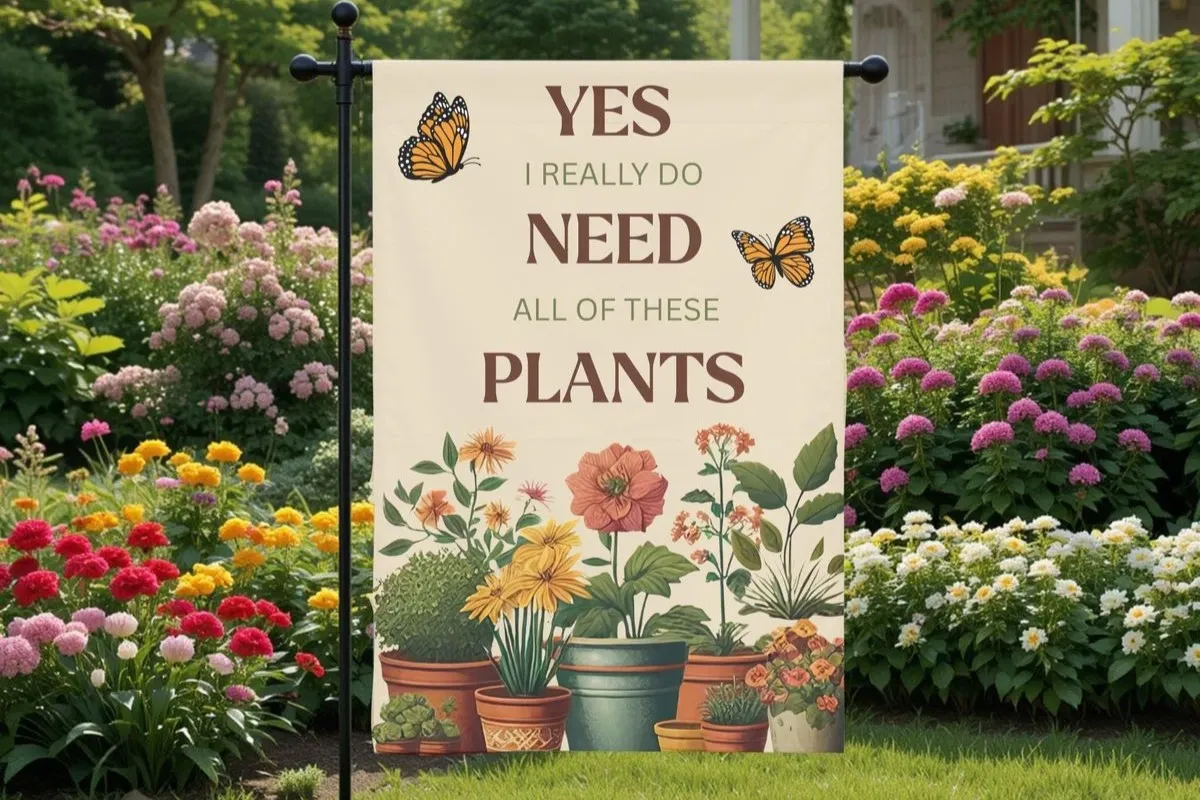
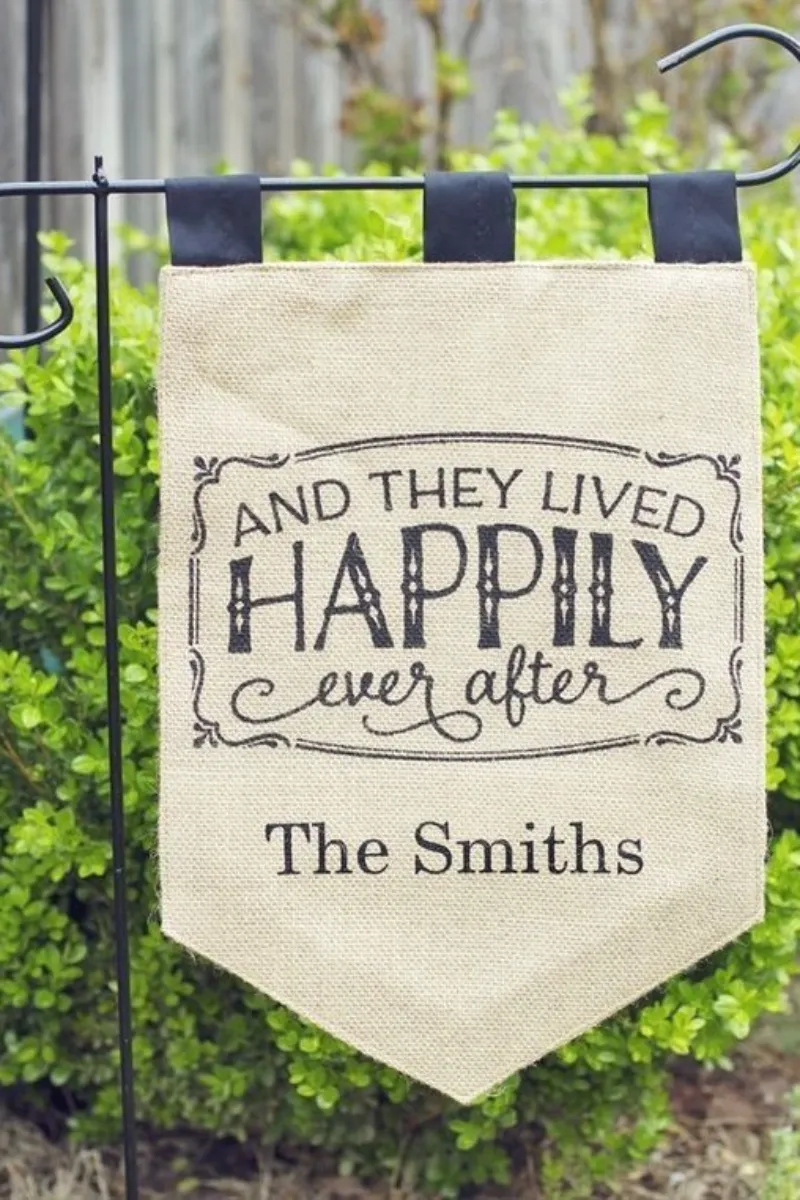
A garden flag is one of the easiest ways to add personality and charm to your outdoor space. Whether you’re decorating for a season, holiday, or simply welcoming guests, a handmade garden flag lets you customize colors, messages, and designs to match your style.
The good news? You don’t need advanced crafting skills or expensive tools. With a few basic supplies and some creativity, you can make a durable, weather-friendly garden flag in an afternoon. This step-by-step guide walks you through the entire process, from choosing materials to keeping your flag secure outdoors.
Materials You’ll Need
Before you start, gather the following supplies:
- Outdoor-friendly fabric (canvas, burlap, duck cloth, or polyester)
- Fabric paint, acrylic paint, vinyl, or iron-on transfer
- Sewing machine or needle and thread
- Fabric glue or iron-on hemming tape (for no-sew options)
- Scissors or rotary cutter
- Ruler or measuring tape
- Iron (for vinyl or hemming tape)
- Garden flag stand or pole
Optional: stencils, Cricut machine, paintbrushes, waterproof spray
Choosing outdoor fabric is important—indoor cotton tends to fade and fray quickly outside.
Step 1: Choose the Right Size
The most common garden flag size is 12 x 18 inches, which fits standard garden flag poles. If you’re making a larger statement flag, 13 x 18 inches also works well.
Decide whether you want:
- Single-sided flags, which are lighter and easier to make
- Double-sided flags, which look good from both directions and hold up better in wind
If making a double-sided flag, you’ll need two pieces of fabric instead of one.
Step 2: Prepare Your Fabric
Wash and dry your fabric before cutting. This prevents shrinking later. Iron the fabric flat so your cuts and designs stay clean.
Cut your fabric to size, adding an extra inch on the top edge to create a sleeve for the pole. If your fabric frays easily, fold and hem the edges or use iron-on hemming tape for a quick finish.
Step 3: Create Your Design
This is where you can get creative. Popular garden flag designs include seasonal themes, welcome messages, florals, and simple patterns.
You can create your design using:
- Fabric paint for hand-painted artwork
- Stencils for clean lettering and shapes
- Heat-transfer vinyl for crisp, professional-looking text
- Iron-on transfers for printed designs
Allow paint or vinyl to fully dry before moving on. If working with paint, use thin layers to prevent cracking.
Step 4: Assemble the Flag
To attach the flag to the pole, you’ll need a sleeve at the top.
- Sewing method: Fold the top edge over about 1½ inches and sew a straight line across to create a pocket.
- No-sew method: Use fabric glue or iron-on hemming tape to secure the folded edge. Let it cure completely before hanging.
For double-sided flags, place the designs back-to-back, sew or glue around the edges, and leave the top sleeve open.
Step 5: Make It Weather-Resistant
To help your garden flag last longer outdoors:
- Use a fabric sealant or waterproof spray
- Apply a UV-protective spray to reduce fading
- Avoid placing flags where they rub constantly against rough surfaces
These steps are especially helpful if your flag will stay outside year-round.
How to Keep a Garden Flag from Flying Off
Wind is one of the biggest challenges with garden flags, but a few simple tricks can keep yours secure.
Start by making sure the pole sleeve fits snugly around the stand arm. If the sleeve is too loose, add a few hand stitches to tighten it. You can also use small flag clips, zip ties, or safety pins at the top and bottom corners to hold the flag in place.
Choosing heavier fabric or a double-sided flag helps reduce excessive movement. In windy areas, adding a small weighted hem at the bottom can prevent the flag from lifting. Some garden flag poles also come with flag stoppers, which are inexpensive and very effective.
Step 6: Attach the Flag to the Pole
Slide the pole arm through the sleeve and adjust the flag so it hangs evenly. Make sure it’s balanced and not pulling to one side. If using clips or ties, secure them discreetly so they’re not visible from the front.
Test it by gently tugging or shaking the pole to ensure the flag stays in place.
Step 7: Styling and Display Tips
Place your garden flag where it’s visible but protected from constant harsh wind. Popular locations include:
- Along walkways or garden paths
- Near the front porch or entryway
- Beside flower beds or planters
Switch out flags seasonally to keep your outdoor decor fresh and inviting.
Final Thoughts
Making your own garden flag is a fun, affordable way to personalize your outdoor space. With the right materials, a simple design, and a few wind-proofing tricks, your DIY garden flag can look great and last for seasons to come.
Whether you’re crafting for a holiday or just adding charm to your yard, a handmade garden flag is a small project with a big visual impact.
Looking for more garden design inspiration? You might also love: