This guide covers everything you need to know about composite decking—from types and installation methods to costs, maintenance, and design tips. You’ll also find links to detailed guides on specific topics, helping you plan with confidence.
What Is Composite Decking (and Why Choose It)?
Definition of composite decking
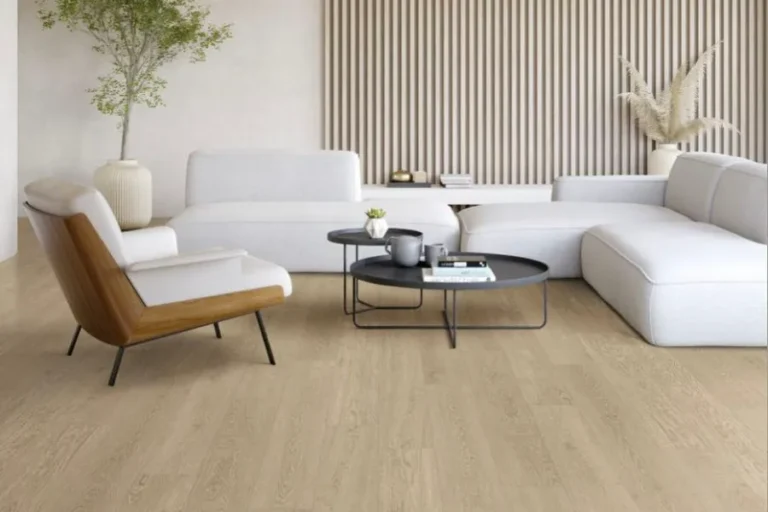
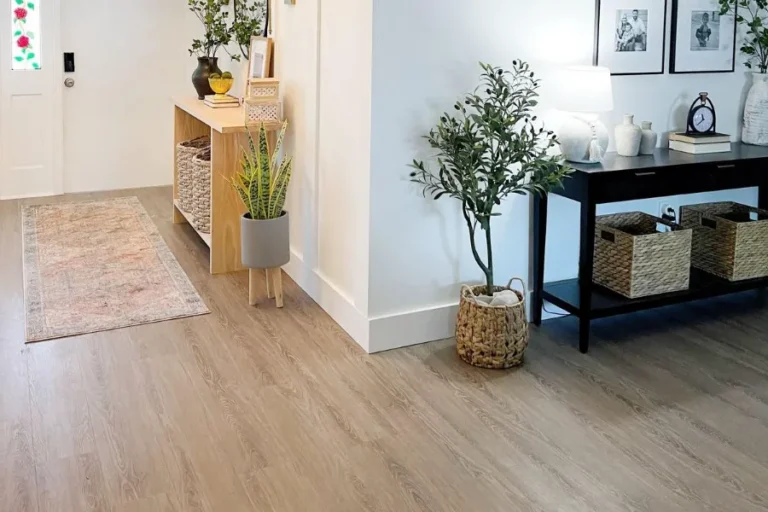
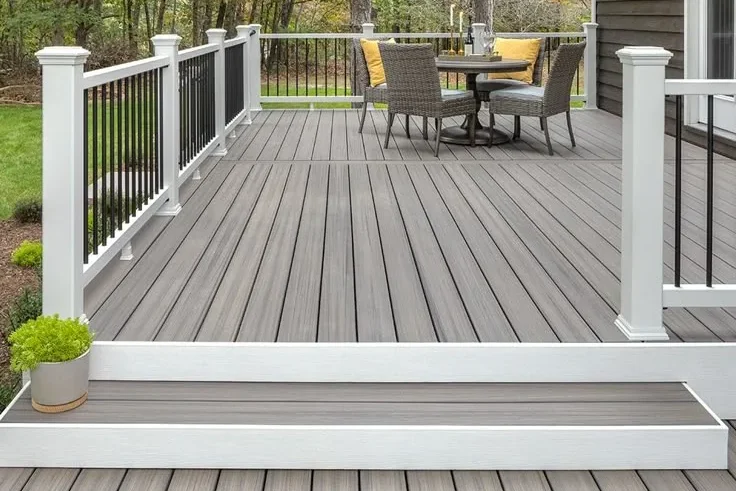
Composite decking is a man-made building product that combines recycled wood fibers, plastics, and bonding agents. The result is a board that mimics the appearance of wood but with enhanced durability. It is a modern alternative to traditional wood decking.
Homeowners love composite decking because it resists weathering, requires no staining or sealing, and comes in a variety of stylish finishes. It’s a great way to upgrade any outdoor space—whether it’s a small patio or a large multi-level deck.

Key benefits
- Durability: Resistant to rot, warping, and insect damage.
- Low maintenance: No need for sanding, staining, or sealing.
- Eco-friendly: Many brands use recycled or sustainable materials.
Types of Composite Decking
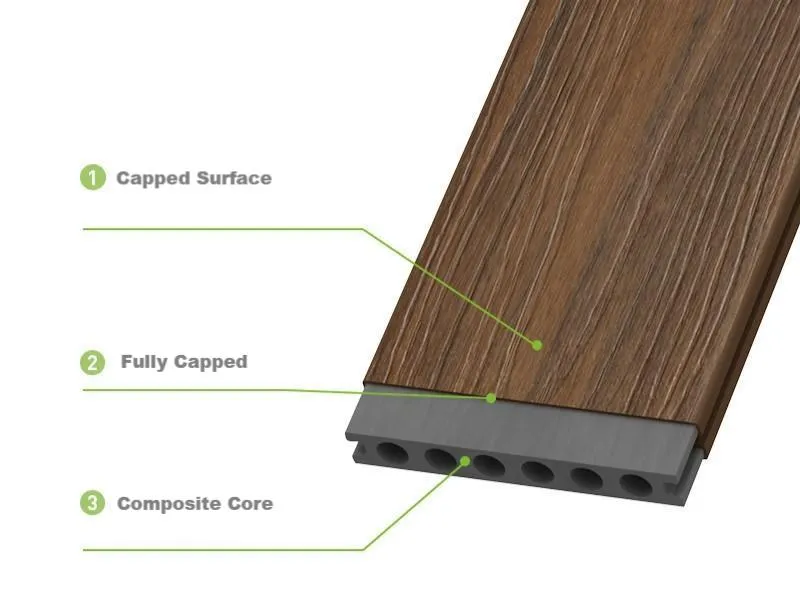
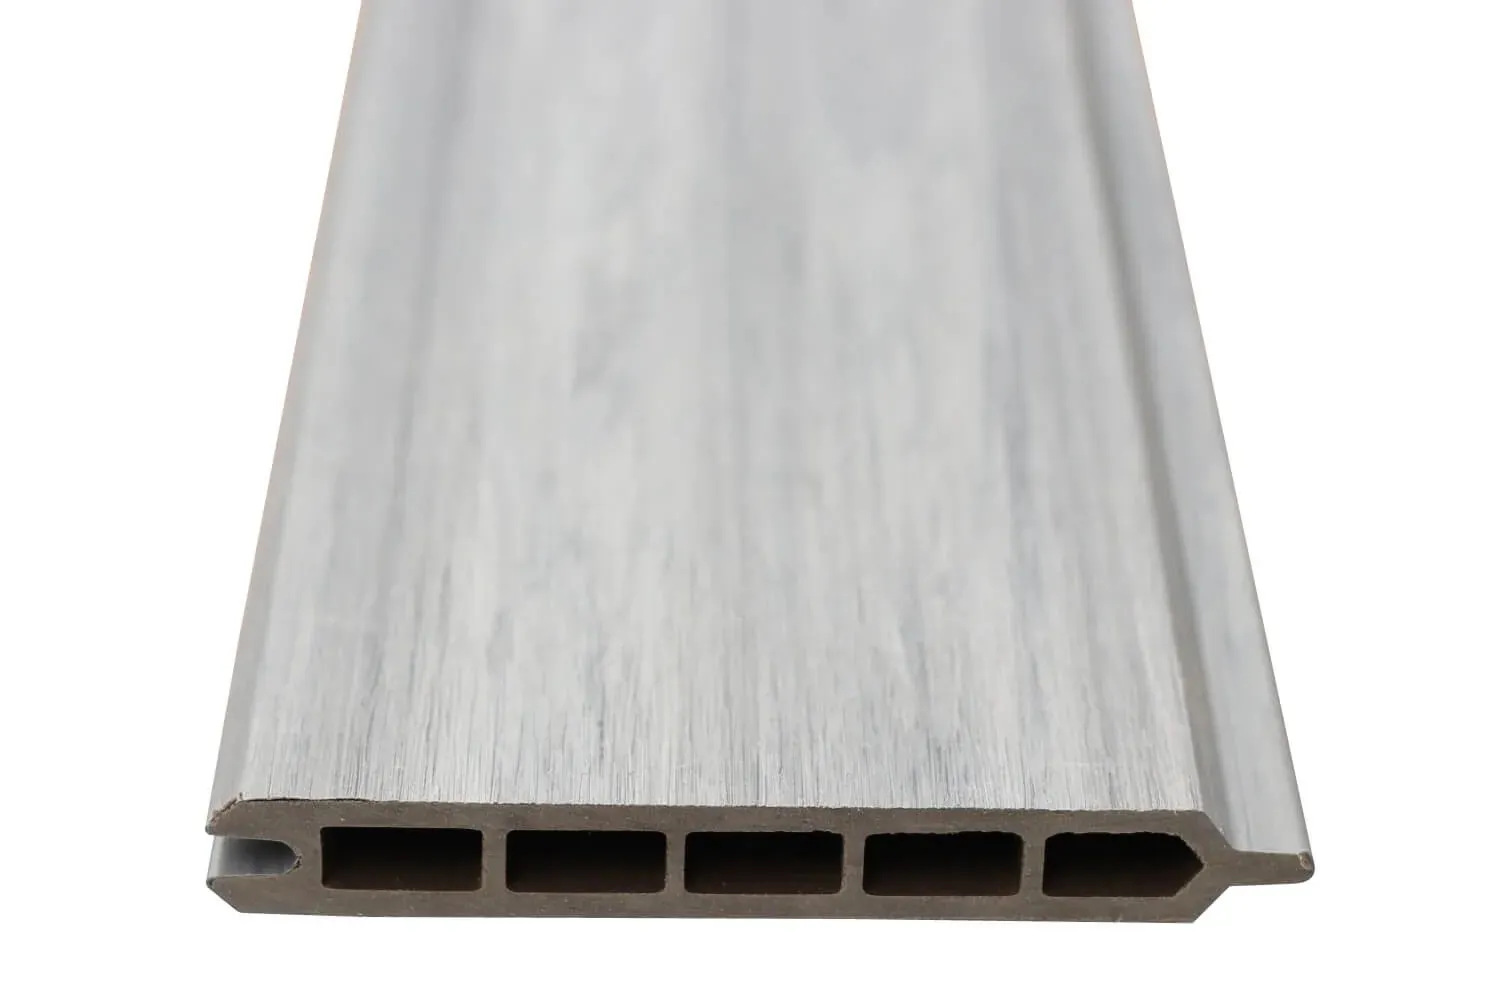
1. Capped vs. Uncapped: Capped decking has a protective outer layer for enhanced resistance to stains and fading; Uncapped decking is more affordable but can be more susceptible to weathering over time.

2. Tongue and Groove vs. Standard Boards: Tongue and groove boards interlock for a seamless surface, ideal for covered porches; Standard boards are easier to install and more common in open-air decks.
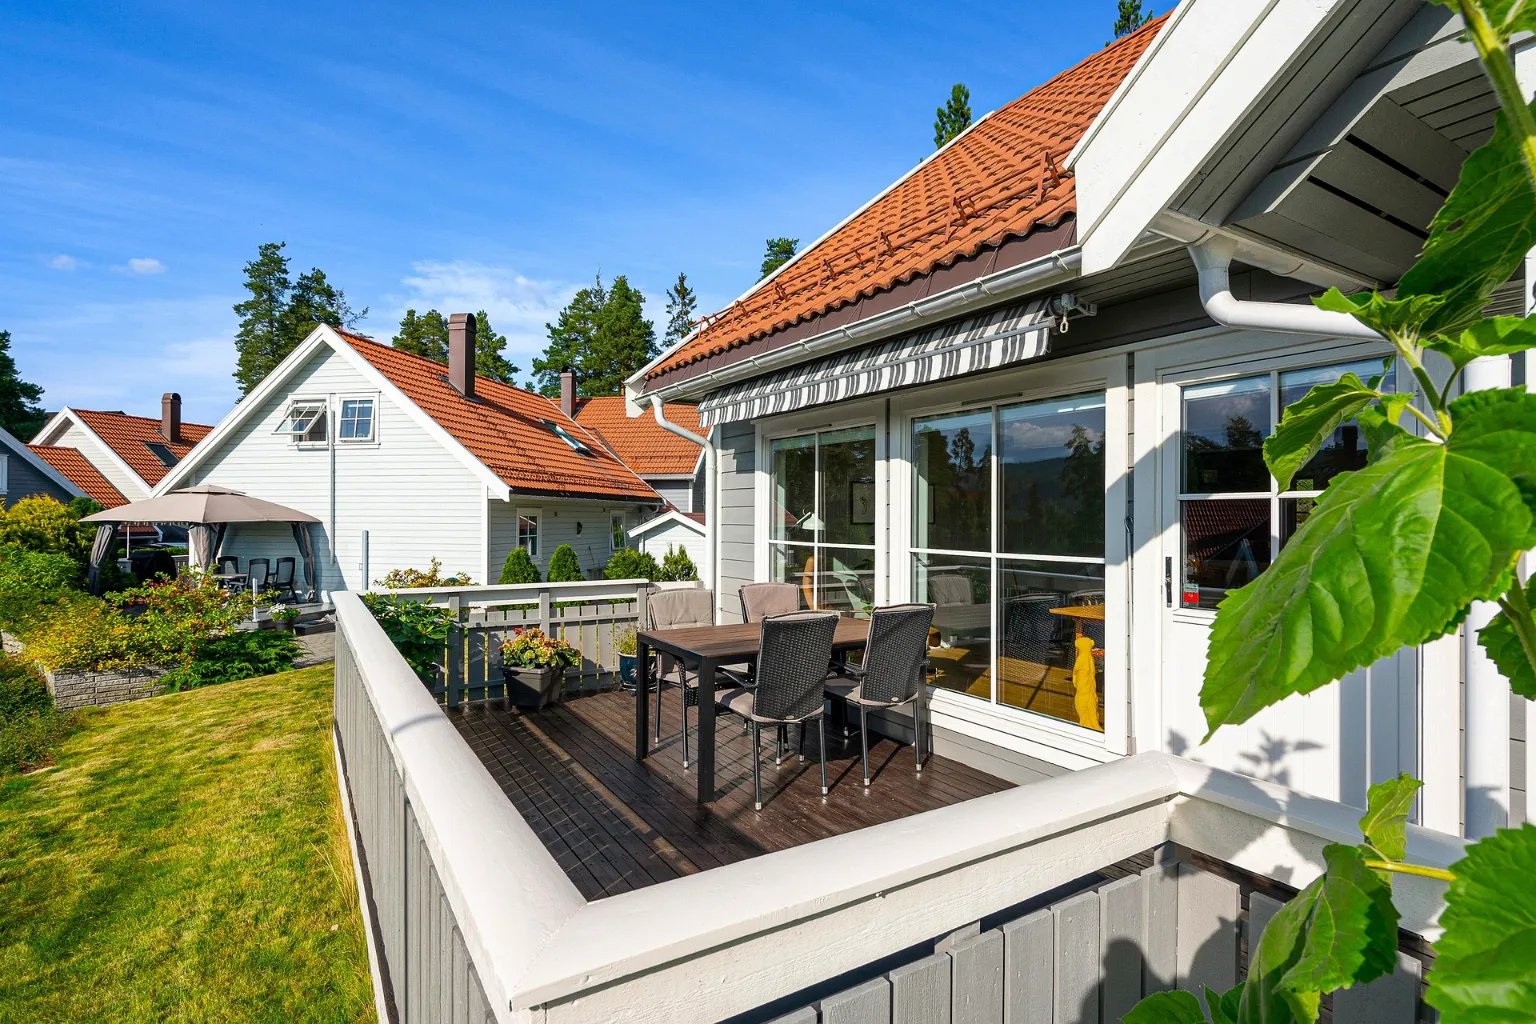
Planning Your Deck Design
- Size, layout, and function: Start by determining how much space you have and what the deck will be used for—entertaining, dining, relaxing, or all of the above.
- Multi-level vs. single-level decks: Multi-level decks create zones and add visual interest; Single-level designs are easier to build and maintain.
- Safety considerations: Add railings, slip-resistant boards, and proper lighting to enhance safety, especially on elevated or high-traffic decks.
Cost Breakdown: How Much Does Composite Decking Cost?
- Average cost per square foot: Composite decking typically ranges from $5 to $15 per square foot, depending on the brand and features.
- Factors that affect composite decking pricing: Type of board (capped vs. uncapped); Hidden fasteners or specialty designs; Labor and regional installation costs
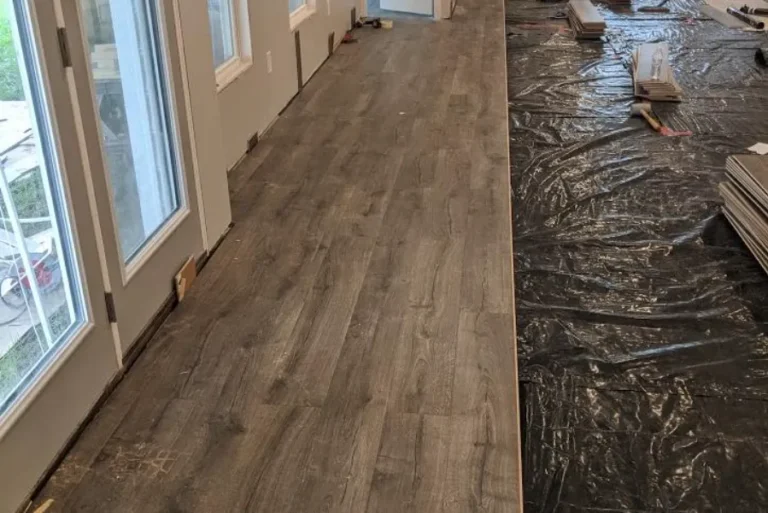
Installation Guides of Composite Decking
Installing composite decking requires planning, accurate measurements, and proper fasteners. You’ll need to prepare the substructure, ensure correct spacing, and secure boards according to the manufacturer’s recommendations.
Installing composite decking is easier than many think—especially with systems like hidden fasteners or tongue-and-groove edges. Here are some key tips:
- Plan for Expansion Gaps: Composite materials expand and contract. Leave at least a 1/8″ gap between boards.
- Follow Joist Spacing Guidelines: Use 12″–16″ spacing depending on the type of board.
Maintenance and Cleaning Tips
While composite decking is low-maintenance, routine cleaning helps maintain its appearance. Use a soft brush or broom to remove debris and wash with water and mild soap.
Durability and Longevity
Expected lifespan of composite decking: Composite decks often last 25–30 years or more, depending on quality, climate, and maintenance.
How climate and usage affect longevity: Harsh weather, heavy foot traffic, or poor drainage can reduce lifespan. Regular inspection and proper installation help prevent issues.
Can You Customize Composite Decking?
Composite decking comes in many colors and textures, but most are not designed to be painted. In general, it’s better to choose a style you’ll love long-term. If repainting is necessary, make sure your brand allows it.
Heat and Comfort Underfoot
How hot does composite decking get? Composite boards can retain heat, especially darker colors in direct sun.
Tips for keeping your deck cool in summer: Choose lighter colors; Add shade structure; Install in areas with airflow
Is Composite Decking Right for You?
Composite decking has a lot going for it—especially if you want a beautiful outdoor space without ongoing upkeep. It’s strong, stylish, and long-lasting, though the initial cost may be higher than wood.
Choose composite if you value durability and aesthetics over regular maintenance. It’s an excellent fit for homeowners who want to enjoy their outdoor space, not constantly maintain it.