Vinyl flooring has quickly become one of the most popular flooring options for homeowners across the U.S. Known for its affordability, durability, and wide range of styles, vinyl is a smart alternative to more expensive flooring materials like hardwood or tile. Whether you’re remodeling a basement, upgrading your kitchen, or refreshing your whole home, vinyl flooring offers plenty of benefits—but also a few key considerations you need to know before making a choice.
In this comprehensive guide, we’ll cover everything from types of vinyl flooring, comparisons with other flooring materials, installation methods, cost breakdowns, maintenance tips, and common mistakes to avoid. You’ll also find links to in-depth guides on each topic for even deeper insights.
What Is Vinyl Flooring?
Vinyl flooring is a synthetic product made primarily from PVC (polyvinyl chloride). It is designed to mimic natural materials like hardwood, stone, or ceramic, but at a fraction of the cost. Thanks to advances in technology, modern vinyl flooring often looks so realistic that it can be hard to tell apart from the real thing.
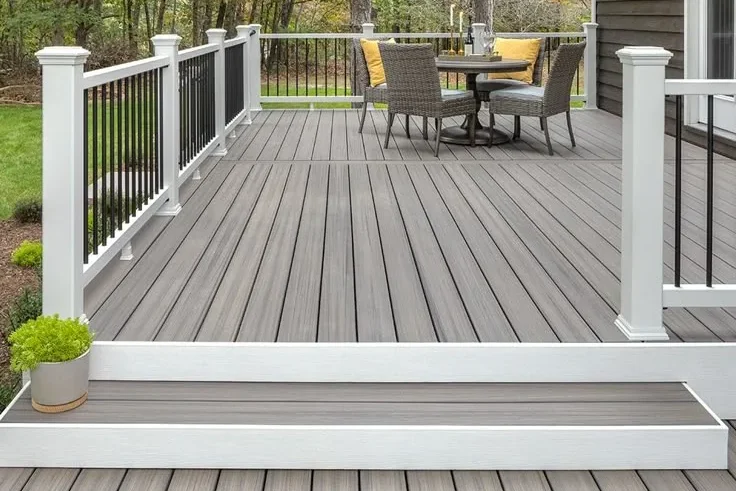
Vinyl flooring is also highly versatile. It comes in a variety of forms, including sheets, planks, and tiles, which gives homeowners flexibility in both design and installation. Plus, many products are water-resistant or fully waterproof, making them a great choice for kitchens, bathrooms, and basements.
In short, vinyl flooring is about balancing beauty, practicality, and budget.

Types of Vinyl Flooring
Before choosing vinyl, it’s important to understand the different types available. Each type has unique features that may influence your decision depending on your space, budget, and lifestyle.
Vinyl Sheet Flooring
- Format: Large rolls (usually 6–12 feet wide).
- Best for: Large areas, moisture-prone rooms like bathrooms and laundry rooms.
- Pros: Seamless look, highly water-resistant, budget-friendly.
- Cons: Can be difficult to install without professional help; repairs often require replacing large sections.
Luxury Vinyl Plank (LVP)
- Format: Planks that look like hardwood.
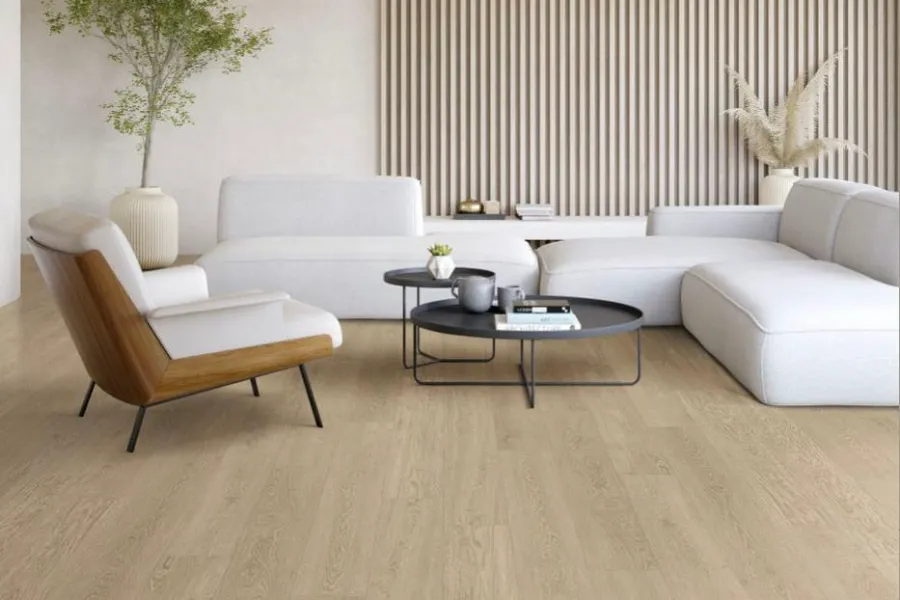
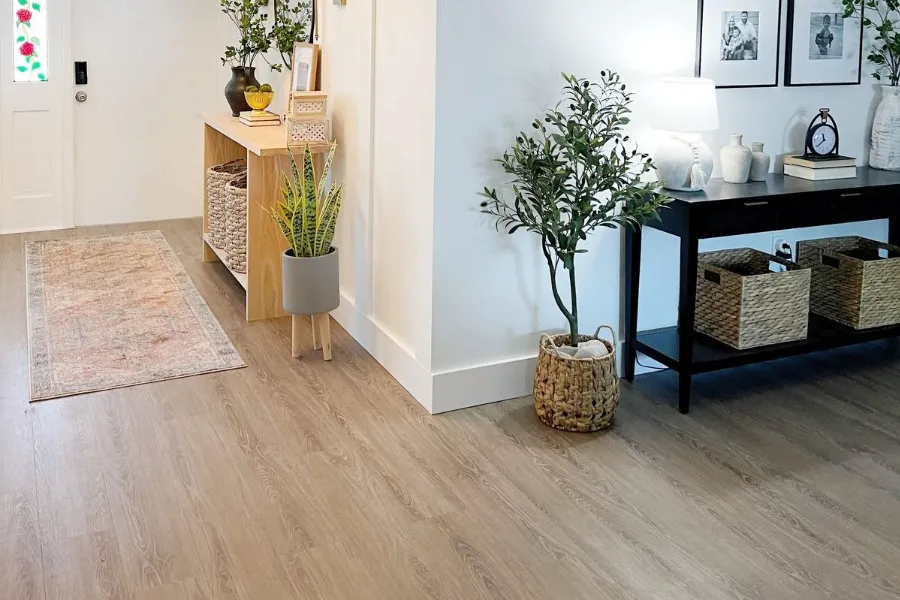
- Best for: Living rooms, bedrooms, kitchens—anywhere you want the look of wood without the cost.
- Pros: Easy click-lock installation, durable, waterproof options available, realistic wood appearance.
- Cons: More expensive than sheet vinyl; quality varies widely between brands.
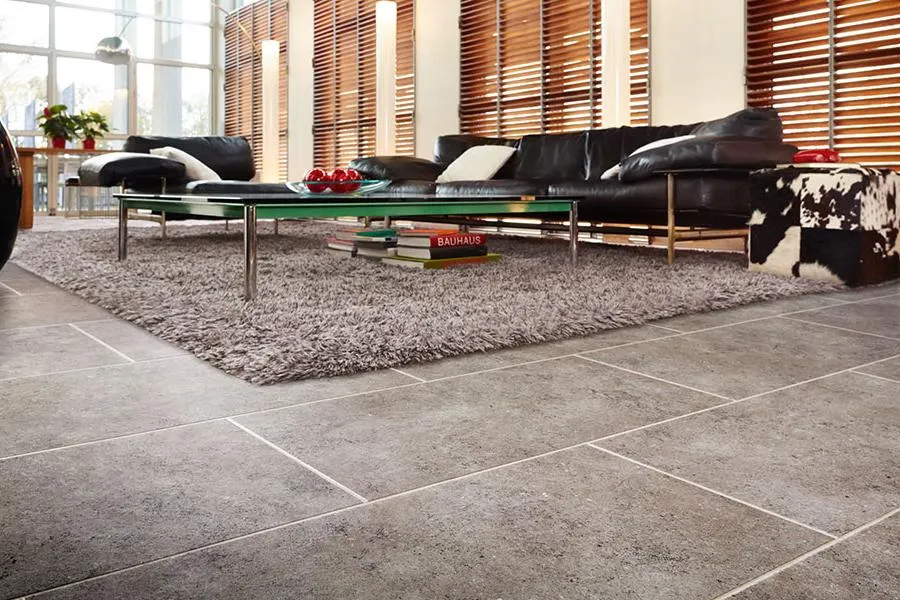
Luxury Vinyl Tile (LVT)
- Format: Tiles designed to mimic ceramic or stone.
- Best for: Kitchens, bathrooms, or areas where you’d typically use tile.
- Pros: Stylish, often comes with grout lines for a realistic look, versatile designs.
- Cons: Can feel colder underfoot than planks; seams may allow moisture if not sealed well.
Want a detailed breakdown of vinyl flooring’s durability?
Vinyl vs. Other Flooring Materials
When choosing flooring, you’re not only comparing different types of vinyl but also how vinyl stacks up against other popular options like WPC, laminate, and hardwood.
1. Vinyl vs. WPC (Wood-Plastic Composite)
| Feature | Vinyl | WPC |
| Durability | Highly durable, especially LVP/LVT. | Stronger core, better for high-traffic. |
| Water Resistance | Most vinyl is water-resistant; some fully waterproof. | Fully waterproof. |
| Comfort | Softer underfoot. | Thicker core adds comfort and sound insulation. |
| Cost | Usually cheaper. | More expensive. |
2. Vinyl vs. Laminate Flooring
| Feature | Vinyl | Laminate |
| Water Resistance | Waterproof options available. | Susceptible to water damage. |
| Installation | Easy DIY (click-lock). | Also DIY-friendly but less forgiving with moisture. |
| Durability | Good, especially with wear layers. | Can chip or swell more easily. |
| Cost | Similar or slightly cheaper. | Similar, sometimes lower. |
3. Vinyl vs. Hardwood Flooring
| Feature | Vinyl | Hardwood |
| Lifespan | 10–25 years. | 50+ years with refinishing. |
| Maintenance | Low-maintenance. | Requires refinishing every 7–10 years. |
| Cost | Budget-friendly. | High upfront and maintenance cost. |
| Appearance | Realistic wood look, but not 100%. | Timeless, natural beauty. |
Cost of Vinyl Flooring
The cost of vinyl flooring depends on the type and installation method:
1. Material:
- Sheet vinyl: $1–$3 per sq. ft.
- LVP/LVT: $2–$5 per sq. ft.
- Premium brands: $5–$8 per sq. ft.
2. Installation:
- DIY floating floors: Minimal cost beyond materials.
- Professional installation: $2–$6 per sq. ft.
- Glue-down: Labor-intensive, often pricier.
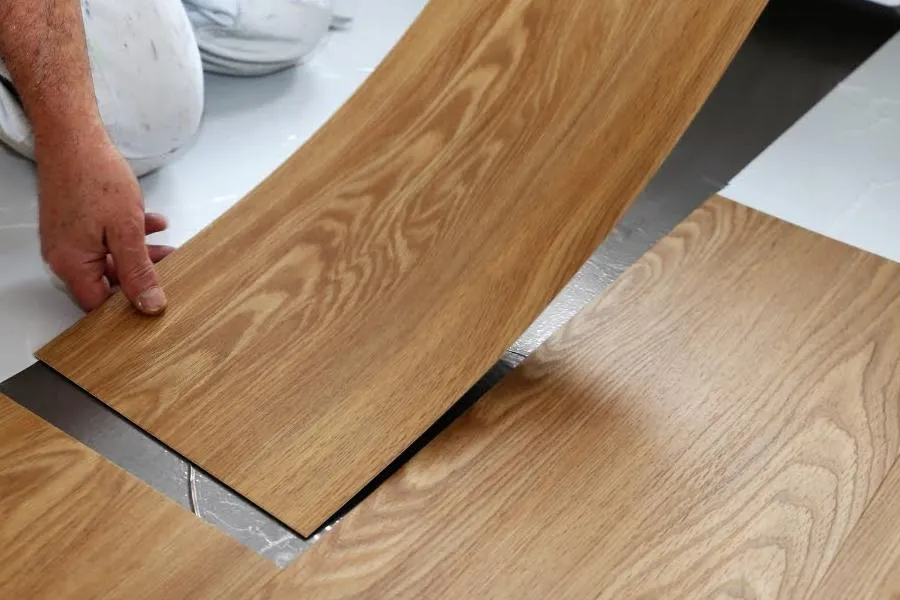
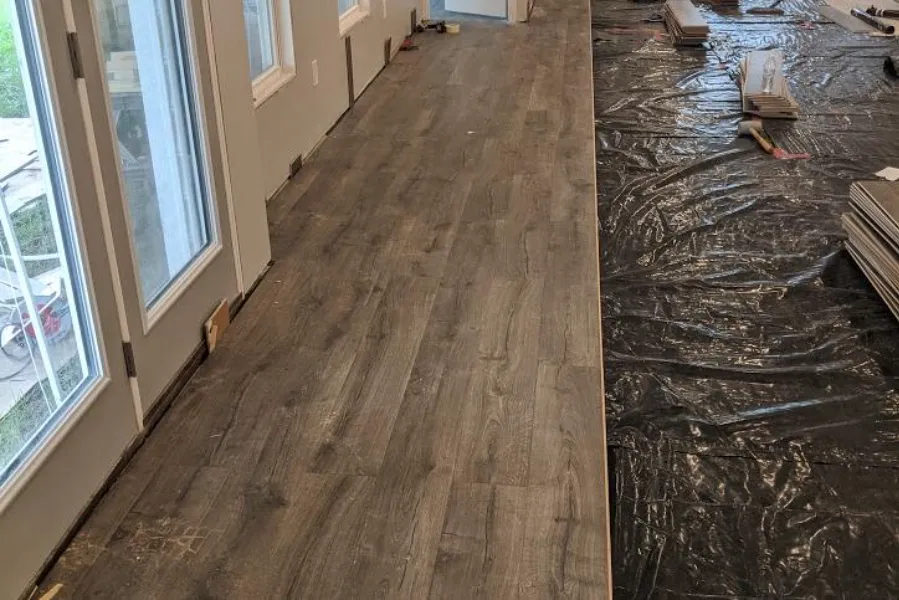
Installation: Methods and Mistakes to Avoid
Vinyl flooring can be installed in several ways, including click-lock floating floors, glue-down methods, or loose-lay planks. Each has its pros and cons, but what really matters is avoiding common pitfalls.
Common Mistakes to Avoid
- Not acclimating planks before installation.
- Ignoring subfloor preparation—uneven surfaces can cause problems.
- Skipping vapor barriers over concrete.
- Leaving gaps too close or too far from walls.
Subfloor Considerations: Concrete, Tile, and More
Vinyl is flexible, but the subfloor matters.
- Over Concrete: A vapor barrier is often required because concrete naturally holds moisture.
- Over Tile: Yes, but only if the tile is level and in good condition.
- Over Wood: Works well as long as the wood is dry and stable.
Moisture control is critical. Even though vinyl is water-resistant, trapped moisture beneath can cause issues like mold growth or adhesive failure.
Maintenance and Cleaning Tips
Vinyl flooring is low-maintenance, but keeping it clean extends its lifespan:
- Sweep or vacuum regularly to prevent scratches.
- Mop with warm water and mild cleaner (avoid harsh chemicals).
- Use mats in entryways to catch dirt and moisture.
- Avoid dragging heavy furniture across planks.
Can You Paint Vinyl Flooring?
Some homeowners look to refresh old vinyl by painting it. While possible, it requires prep:
- Thorough cleaning and sanding for adhesion.
- Applying a high-quality primer and floor paint.
- Sealing with a durable topcoat.
Final Thoughts
Vinyl flooring is an affordable, stylish, and practical option for many homes. From luxury planks that mimic hardwood to waterproof sheets ideal for bathrooms, it offers something for every room and budget. However, to get the best results, you’ll need to carefully consider installation, subfloor prep, and maintenance practices.
By exploring the resources linked in this guide, you’ll gain all the knowledge you need to make an informed decision—and enjoy vinyl floors that look beautiful and last for years.