When your patio pavers start to look dull or dirty, your first instinct might be to blast them with a pressure washer. But here’s the catch: that powerful spray can also remove the joint sand that keeps your patio stable and weed-free. If you’re wondering how to clean patio pavers without removing sand, you’re not alone — and yes, it’s completely doable.
In this guide, you’ll learn how to keep your pavers looking fresh while keeping that important joint sand right where it belongs.
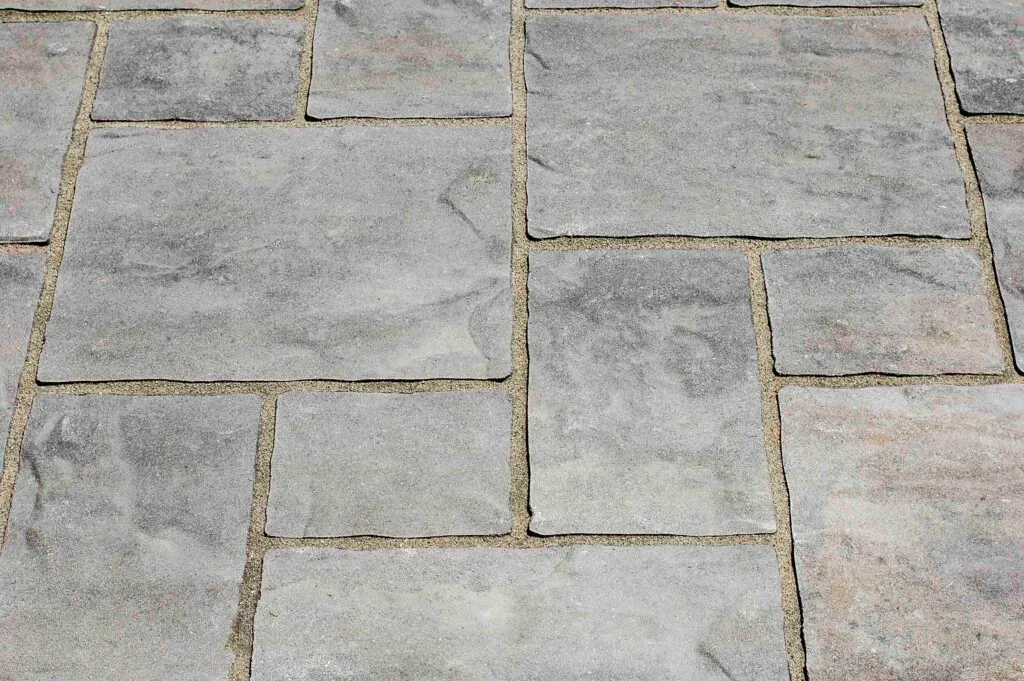
Why Joint Sand Matters in Paver Installations
Before we get into cleaning methods, it’s important to understand why the sand between pavers matters so much. Joint sand serves three major purposes:
- Structural Integrity: It helps lock the pavers in place and prevents shifting.
- Weed Prevention: A well-sanded patio leaves little room for weeds to grow.
- Drainage and Stability: Properly filled joints aid in water drainage and keep your surface level.
There are two main types of sand used for joints:
- Regular Joint Sand: Inexpensive and easy to apply, but more prone to erosion.
- Polymeric Sand: A more durable option that includes binding agents which harden when moistened, locking the sand in place.
Removing this sand while cleaning can result in loose pavers, weed growth, or uneven surfaces. That’s why a sand-safe cleaning routine is critical.
Step-by-Step: How to Clean Patio Pavers Without Removing Sand
1. Dry Sweep the Area First
Start by giving your patio a thorough dry sweep using a soft-bristle broom. Focus on removing:
- Leaves
- Dirt
- Loose debris
- Twigs or mulch
Be sure to sweep diagonally across the joints — not in line with them — to avoid dislodging the sand. This simple step also gives you a clear look at any stained or problem areas that need extra attention.
2. Use a Low-Pressure Hose Spray
Instead of jumping straight to a pressure washer, opt for a standard garden hose. Set the nozzle to a gentle spray mode like:
- Shower
- Mist
- Flat
Spray the surface at a shallow angle (ideally 30–45 degrees) to avoid direct impact on the joints. Always spray from one corner toward a drain or lawn to guide dirt and runoff off the patio, rather than into joints.
* Pro tip: Do not use a jet or pinpoint spray setting — even on a hose — as it can carve out the sand quickly.
3. Apply a Homemade Cleaning Solution
For patios with more buildup, mold, or light staining, a homemade cleaner is an effective and safe option. Try this mix:
DIY Cleaning Solution:
- 1 gallon of warm water
- 1/2 cup mild dish soap or white vinegar
- Optional: Add 1 tablespoon of baking soda for extra scrubbing power
Use a watering can, spray bottle, or pump sprayer to apply the solution. Let it sit for 10–15 minutes to break down grime.
Then scrub using a soft-bristled deck brush or push broom — again, avoid metal bristles or anything too abrasive. Rinse with a gentle spray of water.
4. Spot Clean Tough Stains
If you’re dealing with oil spots, grease, or mildew, try targeted spot cleaning:
- Use a paver-safe cleaner or a mix of water and white vinegar (50/50 ratio)
- Scrub gently with a handheld nylon brush
- Rinse immediately to avoid the cleaner seeping into joints
For oil stains, applying baking soda or cornstarch first can help absorb the residue before scrubbing.
5. Avoid Pressure Washers Unless Necessary
While pressure washers are popular for outdoor cleaning, they’re not ideal for preserving joint sand. If you absolutely must use one:
- Keep the pressure under 1500 PSI
- Use a wide-angle spray tip (25–40 degrees)
- Maintain a height of at least 12 inches from the surface
- Sweep at a consistent angle and don’t pause in one spot
Afterward, you may need to reapply joint sand and compact it.
How to Maintain Joint Sand During and After Cleaning
Even the most careful cleaning can loosen a bit of sand. Here’s how to minimize loss and maintain a firm, attractive patio:
Let Sand Cure Before Washing
If you’ve recently added sand, wait:
- 24–48 hours for polymeric sand to harden
- 5–7 days for regular sand to settle naturally
Washing too soon can undo your work.
Reapply Joint Sand as Needed
After cleaning, inspect the joints. If they look shallow or uneven, sweep new sand into them. For best results:
- Use dry, fine-grain sand
- Sweep diagonally
- Compact using a hand tamper or plate compactor
- Lightly mist to help it settle
Seal Your Pavers for Long-Term Protection
Sealing your patio every 2–3 years:
- Prevents erosion of joint sand
- Protects against water, UV, and stains
- Makes future cleaning easier
Choose a breathable, paver-specific sealer for best results.
Seasonal Maintenance Tips for Cleaner Pavers
Taking the time to care for your patio throughout the year pays off in reduced deep cleaning. Here’s how to stay ahead:
| Season | Maintenance Tip |
| Spring | Clean pollen and mildew before it sets in |
| Summer | Light rinses every few weeks to remove dust |
| Fall | Sweep leaves and debris before they stain |
| Winter | Avoid harsh deicers and use a plastic shovel |
Quick sweeps with a leaf blower between seasons can make a huge difference in keeping sand and pavers in good shape.
Conclusion
So, how do you clean patio pavers without removing sand? It comes down to using the right tools and methods — gentle sweeping, low-pressure rinsing, and mild cleaners. With regular upkeep, your patio can stay beautiful without the need for constant repairs or re-sanding.
By following these tips, you’ll preserve both the look and structure of your outdoor space, giving you a patio that stays picture-perfect season after season.
With the right cleaning techniques, your patio pavers can stay beautiful without the hassle of re-sanding. For more outdoor maintenance tips, DIY guides, and bakcyard floor ideas, be sure to check out our articles at ecobuildhome.com.